Posted on

Decorative Aluminum Balusters: Baroque, Pot Belly, and Flat Bar Styles for Custom Decks

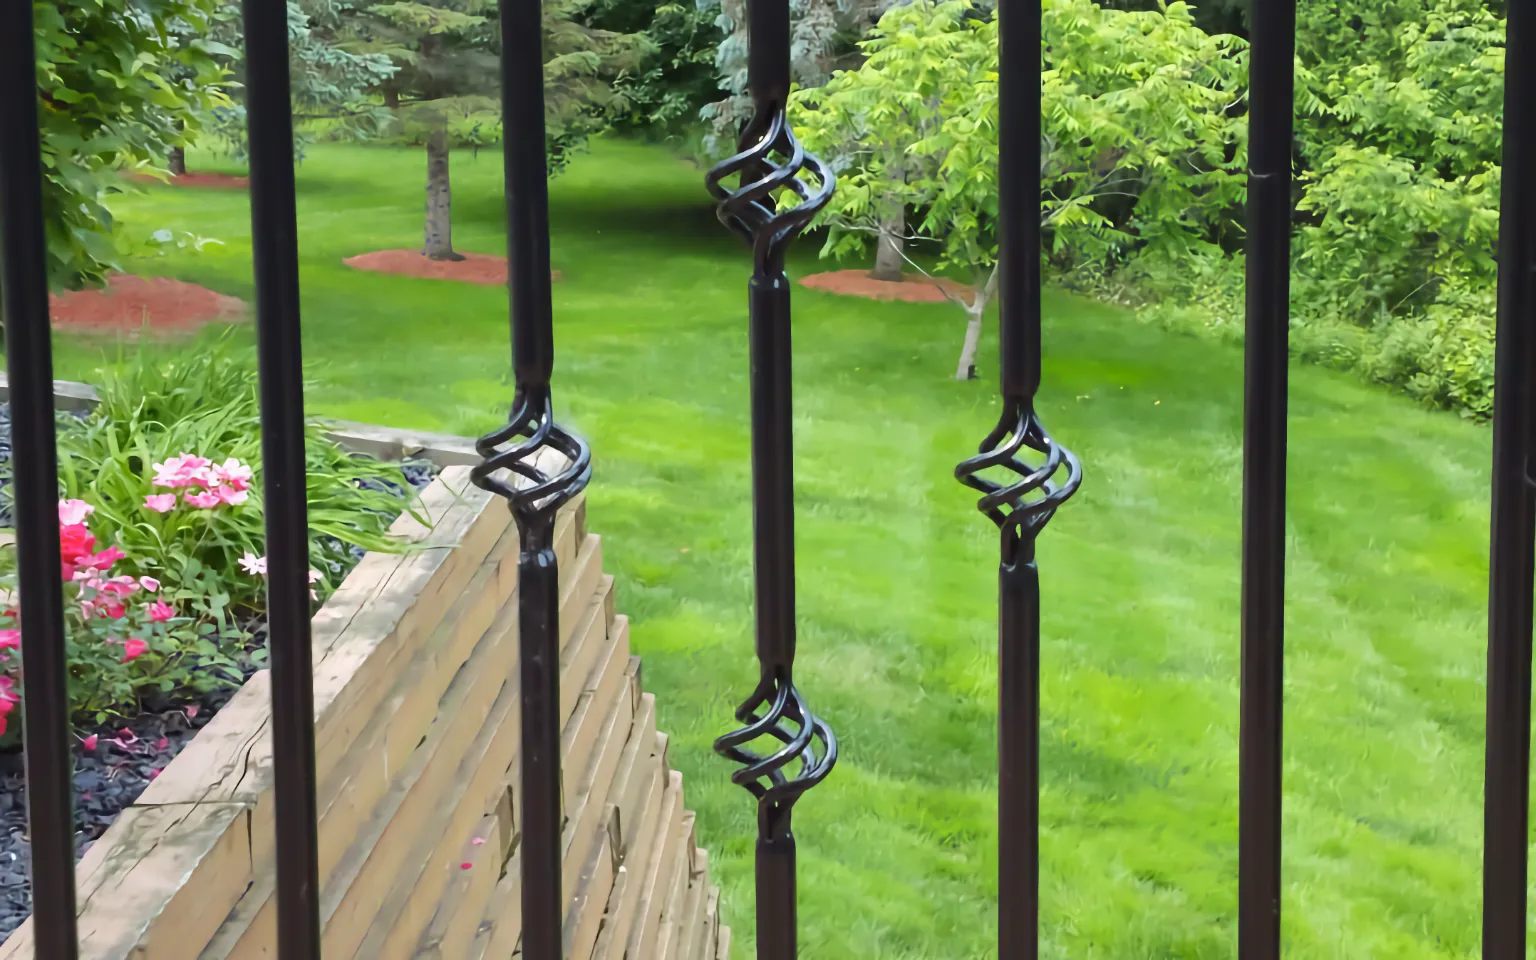
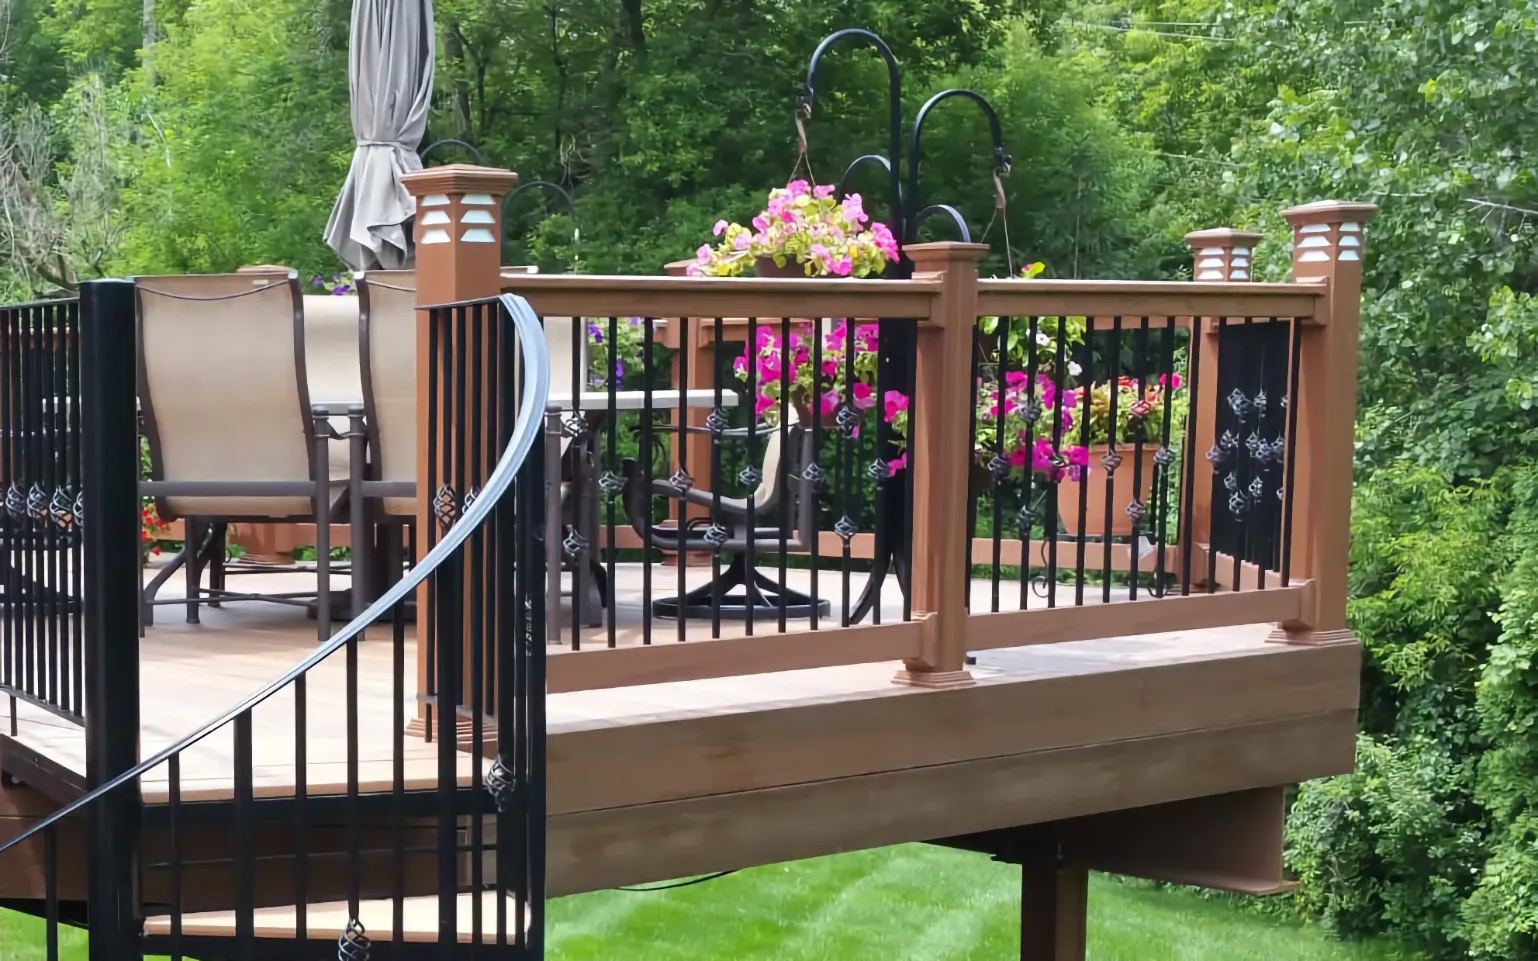
Black decorative basket twist aluminum balusters installed in a deck railing with lush green garden in the background

Standard round and square aluminum balusters handle 90% of deck builds. But when a client wants something different — a railing that makes the deck feel custom — decorative aluminum balusters deliver the look without sacrificing the durability and low maintenance that make aluminum the preferred material for professional deck builders.

The Deck Barn carries three decorative profiles, each with a distinct character. Here’s what they look like, how they install, and when to recommend them.

Baroque (Wavy) Balusters

The Baroque baluster has an S-curve profile that adds visual movement to the railing line. Instead of straight vertical lines, the wavy shape creates rhythm and shadow play that stands out, especially on long railing runs where straight balusters can feel monotonous.

Specs:

  • Face-mount installation style
  • Available in 32-1/4″ and 39″ lengths
  • Price: $5.83 – $8.33/piece
  • Rating: 5.00/5 stars

Best for: Traditional homes, wraparound porches, and clients who want a wrought-iron look without the weight or rust. The Baroque profile pairs well with vinyl railing systems and painted wood rails where a classic, ornamental character is the goal.

Installation note: Baroque balusters use a face-mount system rather than top/bottom connectors. They attach directly to the face of the top and bottom rail. This changes the installation approach compared to standard balusters — plan your rail layout accordingly.

Pot Belly Balusters

The Pot Belly baluster features a bulged midsection that adds a sculptural element to each baluster. The wider center draws the eye and creates a pattern of repeating shapes along the railing run.

Specs:

  • Price: $4.99 – $6.99/piece
  • Rating: 5.00/5 stars

Best for: Colonial and traditional home styles where the client wants more detail than a plain straight baluster. The pot belly shape echoes turned wood spindles but with aluminum’s weather resistance and zero maintenance. Recommend these for clients who love the look of wood turnings but don’t want the upkeep.

Flat Bar Balusters

The Flat Bar baluster has a wide, flat cross-section instead of a round or square profile. This creates a bold, modern look with strong vertical lines and more visual presence than standard profiles.

Specs:

  • Face-mount installation style
  • Black finish
  • Available in custom sizes from 24″ to 48″
  • Price: $4.33 – $11.33/piece
  • Rating: 5.00/5 stars

Best for: Contemporary and modern home designs where the railing is a design feature, not just a safety requirement. Flat bars create a more enclosed, defined railing plane compared to round or square profiles. They work well on rooftop decks, modern additions, and commercial-adjacent residential projects.

Installation note: Like the Baroque, flat bar balusters use face-mount installation. The flat profile means orientation matters — all balusters need to face the same direction for a clean look.

Mixing Decorative and Standard Balusters

Some builders create visual interest by mixing profiles within a railing run. Common approaches:

  • Accent pattern: One decorative baluster every 4th or 5th position, with standard round balusters between
  • Section differentiation: Decorative balusters on the front-facing railing, standard on the sides
  • Stair accent: Decorative balusters on the main deck level, standard round on the stair sections for easier installation

When mixing, confirm that spacing still meets the 4″ sphere rule at every point. Decorative profiles can be wider than standard balusters, which may affect your gap calculations. See our baluster spacing guide for the math.

Pricing Context

Decorative balusters cost more per piece than standard profiles, but the material upcharge on a full railing run is modest compared to the perceived value they add to the finished project:

Profile Per Piece Cost for 8-foot section (~21 balusters)
Standard Round From $1.43 ~$30
Baroque From $5.83 ~$122
Pot Belly From $4.99 ~$105
Flat Bar From $4.33 ~$91

The difference between standard and decorative on an 8-foot section is $60-$90 in materials. For the client, that translates to a noticeable design upgrade at a fraction of the total deck cost. For the builder, it’s an easy upsell that increases project value.

Same Aluminum, Same Durability

All decorative profiles share the same core advantages as standard aluminum balusters: powder-coated finish, zero maintenance, no rot or rust, and consistent performance in any climate. The shape is different, but the material is the same.

Shop All Aluminum Balusters | Request a Quote

Posted on

How Many Balusters Do I Need? Spacing Calculator and Code-Compliant Quantities

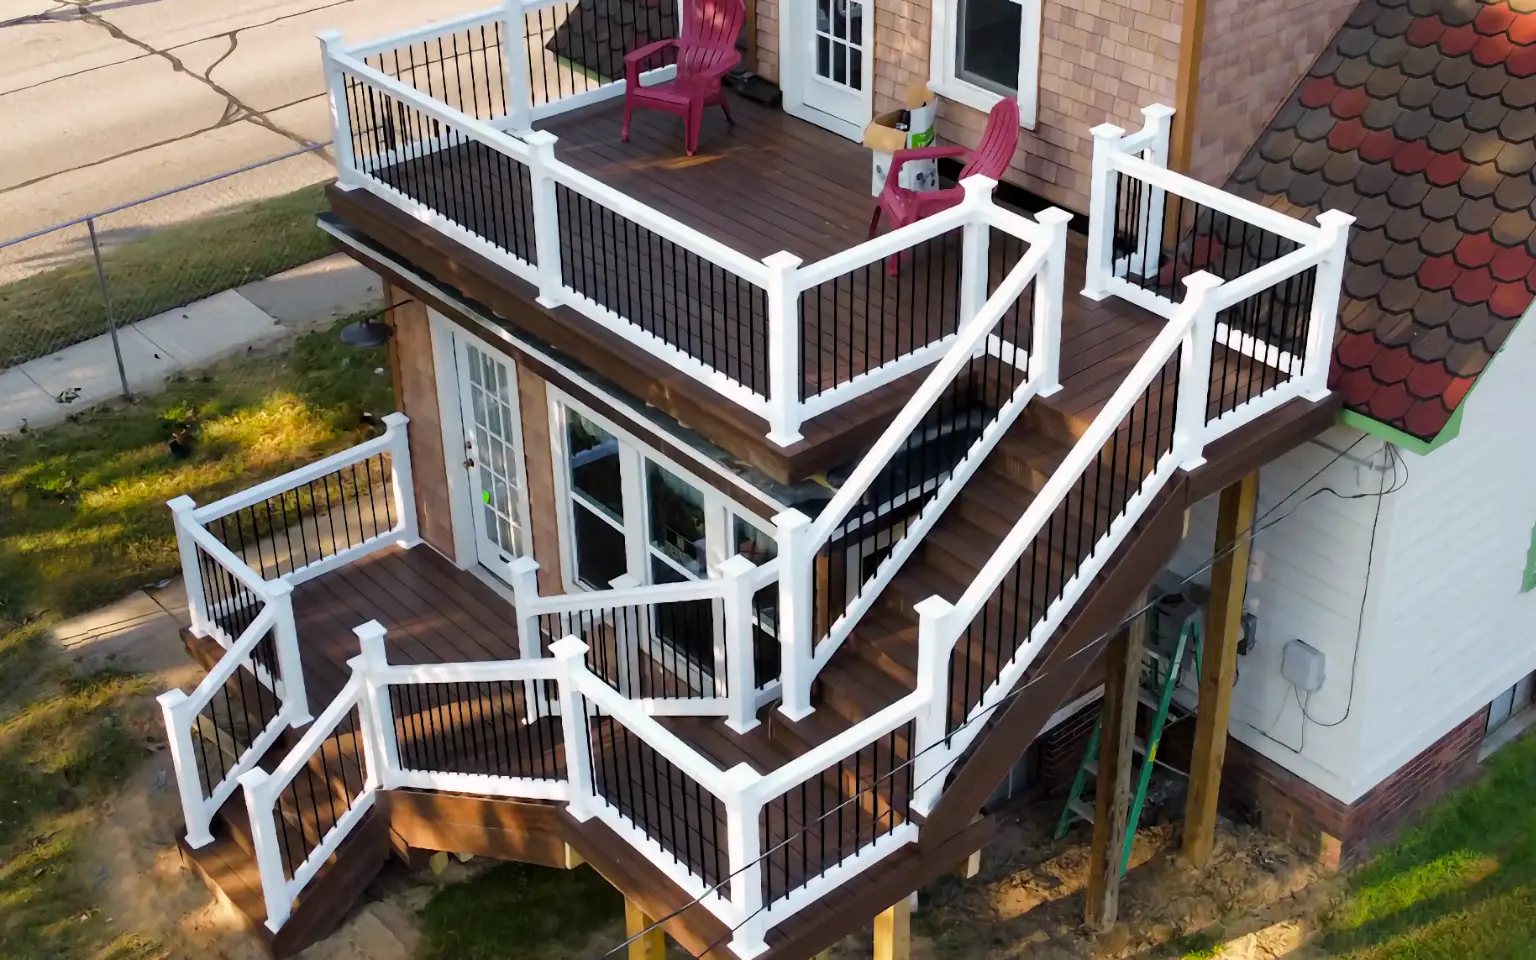
Aerial drone view of a multi-level elevated deck with white vinyl railing black aluminum balusters and stairway on a residential home

Getting the baluster count right before you order saves time, money, and a second trip to the supplier. Too few and you’re waiting on a reorder. Too many and you’ve got inventory sitting in the truck. Since The Deck Barn sells aluminum balusters by the piece, you can order the exact quantity — but you need to know the number first.

Here’s how to calculate it, plus a ready-to-use reference table for common railing lengths.

The Code Requirement

The International Residential Code (IRC) Section R312.1.3 states that the opening between balusters shall not allow passage of a 4-inch sphere. This means the clear gap between any two adjacent balusters cannot exceed 3-15/16″ (just under 4 inches).

Most builders target a clear gap of 3.5″ to 3.75″ to stay comfortably within code while keeping a consistent, clean look.

The Formula

For standard 3/4″ aluminum balusters with a target gap of 3.5″:

  1. Calculate on-center spacing: Baluster width (0.75″) + desired gap (3.5″) = 4.25″ on-center
  2. Divide rail opening by on-center spacing: Rail length ÷ 4.25 = approximate number of spaces
  3. Number of balusters = number of spaces – 1 (the posts create the first and last boundary)
  4. Round up to the nearest whole number
  5. Recalculate exact gap: (Rail length – (balusters × 0.75″)) ÷ (balusters + 1) = actual gap

Important: The gap between the post face and the first (and last) baluster also counts and must be under 4″. Include this in your layout.

Quick Reference Table

For 3/4″ aluminum balusters with approximately 3.5″ clear spacing:

Rail Length Balusters Needed Connectors Needed Actual Gap
3 feet (36″) 8 16 3.38″
4 feet (48″) 10 20 3.68″
5 feet (60″) 13 26 3.55″
6 feet (72″) 15 30 3.53″
7 feet (84″) 18 36 3.71″
8 feet (96″) 21 42 3.55″
10 feet (120″) 26 52 3.57″

Note: These counts assume the rail spans between two posts. If your railing has corner posts or intermediate posts, calculate each section separately.

Calculating for a Full Deck

Most decks have multiple railing sections. Here’s the process:

  1. Measure each section separately — the distance between post faces
  2. Calculate balusters per section using the formula above
  3. Add up all sections for your total baluster count
  4. Add stair sections separately — stair rail lengths are measured along the slope
  5. Order connectors: total balusters × 2 (level connectors for level sections, stair connectors for stair sections)

Stair Sections

Stair railing uses the same 4″ sphere rule, but the balusters are measured along the slope of the stair rail, not the horizontal run. Measure the rail length from post to post along the stair angle.

Use the same spacing formula, but remember:

  • Stair balusters are typically shorter than level balusters
  • You need stair connectors, not level connectors
  • The bottom of each baluster will be at a different height relative to the stair treads

How to Order the Right Amount

Once you have your total count:

  1. Add 5% overage for cuts, breakage, or measurement adjustments (aluminum is tough to break, but it’s cheap insurance)
  2. Separate level vs stair connector counts — they are different products
  3. Confirm baluster length: standard lengths are 26″, 32″, 36″, and 42″. Custom lengths from 8″ to 95″ are available for round aluminum balusters

Need help with a specific project? Request a quote and we’ll calculate the materials for your railing layout.

Why Ordering by the Piece Matters

Big-box stores sell balusters in packs of 5, 10, or 20. If your section needs 13 balusters, you’re buying 15 or 20 and eating the extra cost. At The Deck Barn, you order 13 and you get 13. Across a full deck with multiple sections and stair runs, that precision adds up.

Shop Aluminum Balusters | Shop Connectors | Request a Quote

Posted on

Aluminum Baluster Connectors Explained: Flat Shoes, Round Shoes, and Stair Adapters

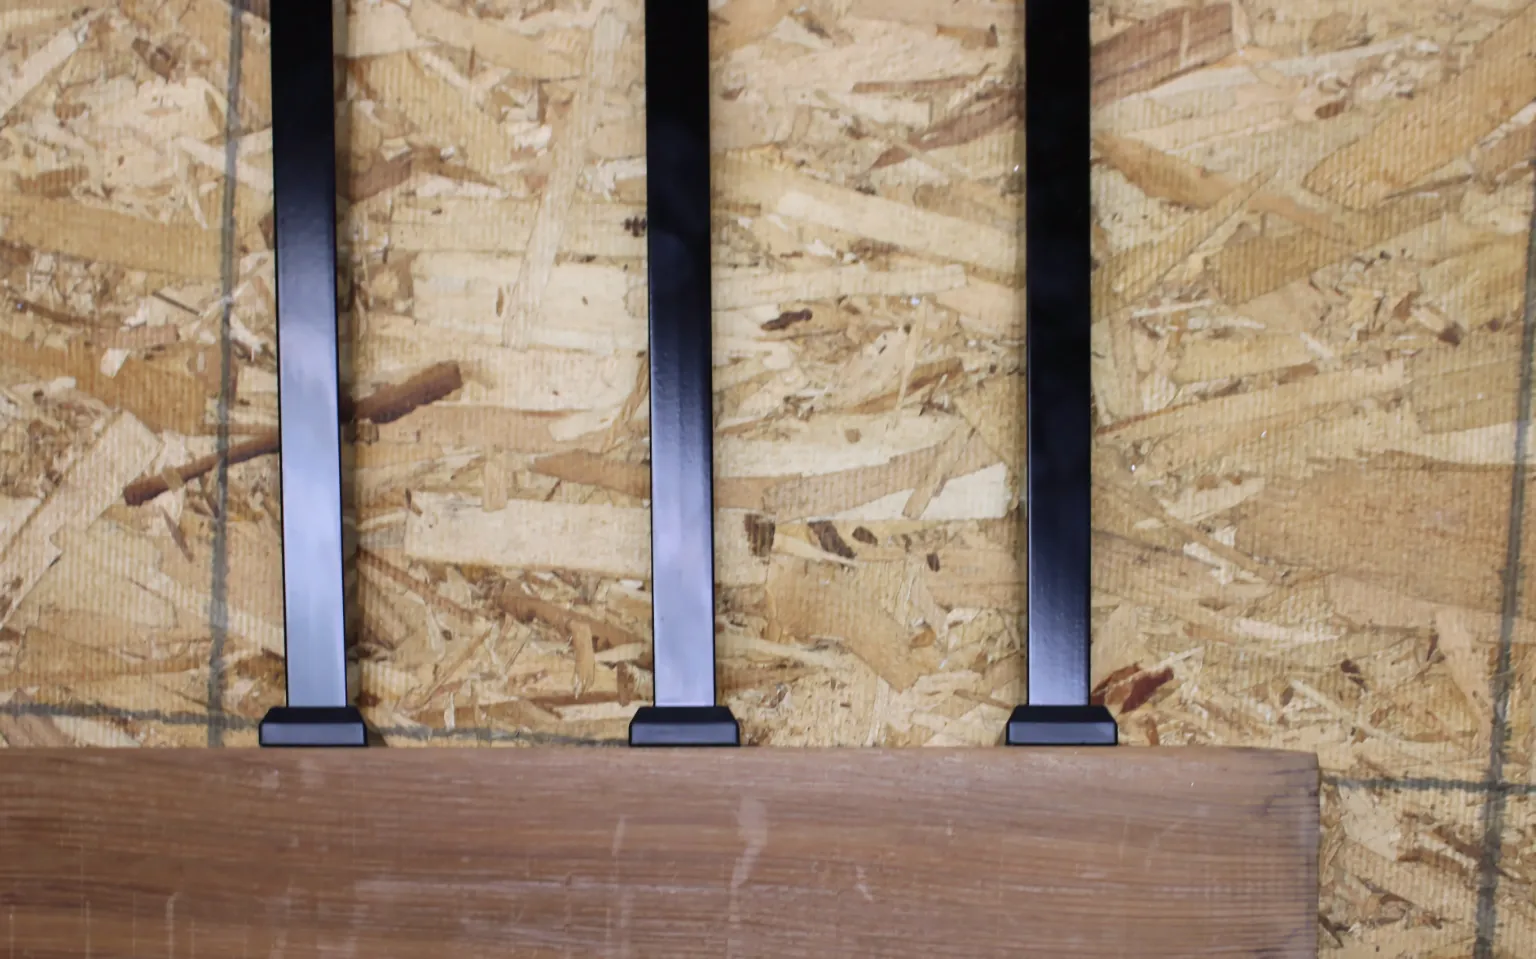
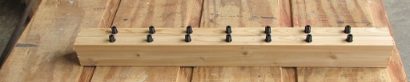
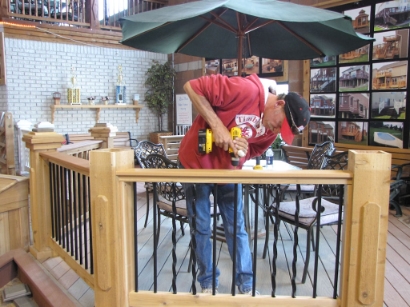
Black square aluminum balusters installed in a wood rail using baluster connectors on a workbench

Every aluminum baluster needs two connectors — one top, one bottom. Pick the wrong type and the baluster won’t seat, won’t stay plumb, or won’t pass inspection on stairs. Connectors are cheap (most are under $0.50 each), but ordering the wrong ones can cost you a trip back to the supplier and a lost afternoon.

Here’s a breakdown of every connector type The Deck Barn carries, what it fits, and when to use it.

Round Baluster Connectors (Classic / Flat Shoe)

The 3/4″ round baluster connector is the standard connector for round aluminum balusters. It’s a friction-fit plastic shoe with a round opening that accepts the 3/4″ diameter baluster. The flat base sits flush against the rail surface.

Use for: All level (horizontal) railing sections with round balusters

Price: Starting at $0.28/piece

Rating: 4.95/5 stars

These connectors snap over the baluster end and hold it in place inside the drilled rail hole. No adhesive or fasteners needed in most applications — the friction fit combined with the weight of the rail assembly keeps everything locked in.

Stair Connectors (Angled)

The aluminum stair spindle connector is the angled version of the round connector. It’s designed for stair railing sections where the rail follows a 30-35 degree slope.

Use for: All stair railing sections with round balusters

Price: Starting at $0.32/piece

Rating: 4.91/5 stars

The angled base compensates for the slope so the baluster stands vertical while the connector sits flat against the angled rail. Do not use level connectors on stairs — the baluster will lean and the gap between the connector base and rail surface will be visible and non-compliant.

Order stair connectors separately from your level connectors. Count the balusters in your stair sections and order 2 stair connectors per stair baluster (top + bottom).

Square Baluster Connectors (Estate Series)

The Estate series square connector has a square opening sized for 3/4″ square aluminum balusters. The operating principle is the same as the round connector — friction fit into a drilled hole — but the square opening prevents rotation and holds the baluster in its intended orientation.

Use for: All level railing sections with square balusters

Price: $0.35/piece

Rating: 5.00/5 stars

Square connectors are not compatible with round balusters, and round connectors won’t work with square balusters. This is the most common ordering mistake — double-check your baluster profile before ordering connectors.

Designer Connectors (Decorative Round)

The designer baluster connector is a round connector with a more finished, decorative profile. It functions identically to the classic round connector but has a slightly different aesthetic at the rail surface.

Use for: Level railing sections where you want a more polished look at the baluster-to-rail junction

Price: $0.35/piece

Rating: 5.00/5 stars

Designer connectors are interchangeable with classic round connectors in terms of fit. The choice is purely cosmetic.

How Many Connectors Do You Need?

The math is simple:

Total connectors = Total balusters × 2

But you need to order the right type for each section:

Section Type Baluster Profile Connector to Order
Level railing Round Classic round connector × 2 per baluster
Level railing Square Estate square connector × 2 per baluster
Stair railing Round Stair connector × 2 per baluster
Stair railing Square Contact us — square stair connectors may require special ordering

Pro tip: Order 5-10% extra connectors. They’re cheap insurance against cracked or lost pieces on the jobsite. At $0.28-$0.35 each, a few spares add almost nothing to the material cost.

Installation Tips

  • Drill the right hole size: Use a 7/8″ spade or Forstner bit for the connector recess, plus a 1/4″ through-hole for drainage
  • Consistent depth matters: If holes are too shallow, connectors sit proud and create a visible gap. Use a depth stop on your bit.
  • Seat fully before securing rail: Press every connector flush before attaching the rail assembly to posts. A partially seated connector will work loose over time.
  • Check fit before bulk drilling: Test one connector in one hole before drilling the entire run. Different lumber species and moisture levels can affect fit.

For the complete installation process, see our aluminum baluster installation guide.

Order Connectors by the Piece

The Deck Barn sells every connector type individually — no forced bundles. Order the exact count you need for each section of railing. Same-day shipping on orders placed before 3 PM ET.

Shop All Baluster Connectors | Shop Aluminum Balusters | Request a Quote

Posted on

How to Install Aluminum Balusters: Spacing, Connectors, and Tools

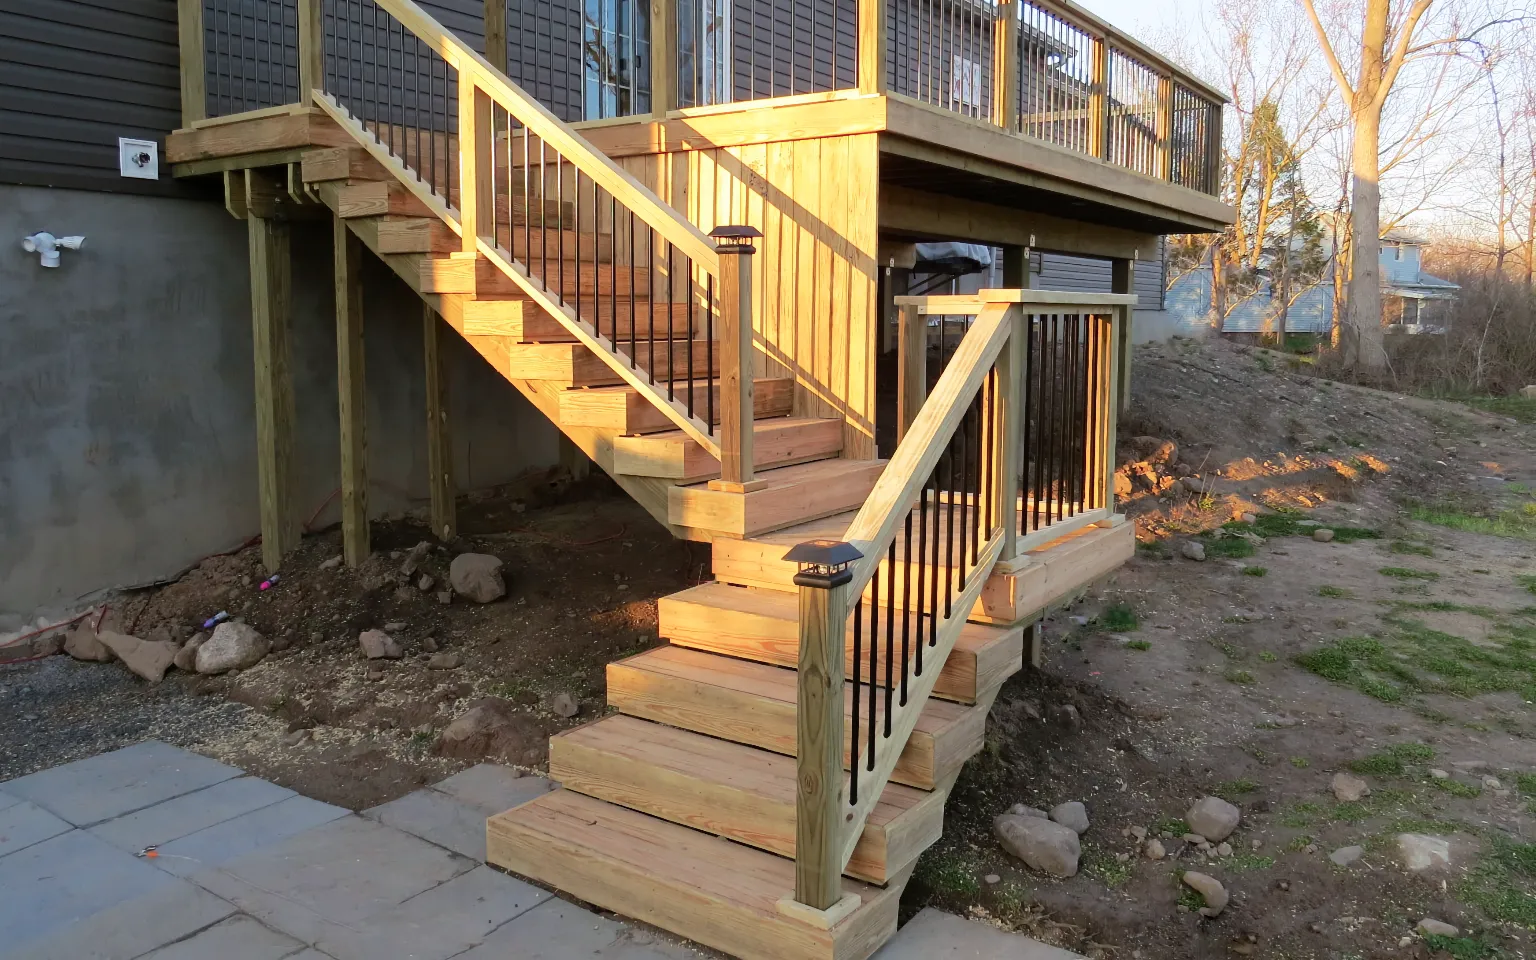
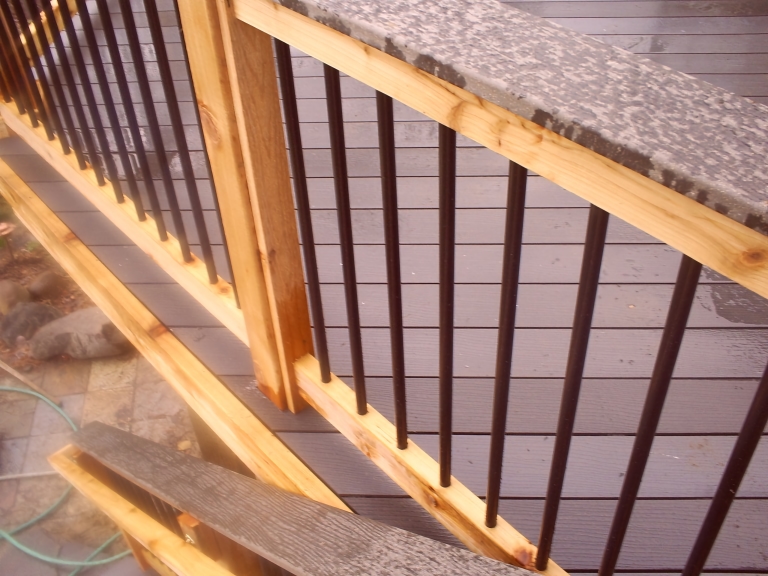
Raised pressure-treated wood deck with black aluminum balusters wood railing and stairs leading to a paver patio

Installing aluminum balusters is one of the fastest railing tasks on a deck build — if you’ve got the right connectors and your spacing dialed in. This guide covers the full process from measuring your opening to setting the last baluster, with the tools, math, and code requirements you need to get it right the first time.

Tools and Materials

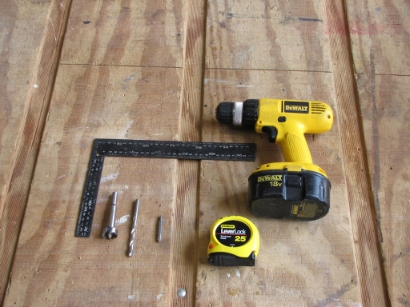
Tools needed for aluminum baluster installation: cordless drill, speed square, tape measure, and drill bits

Tools:

  • Tape measure
  • Speed square
  • Cordless drill
  • 7/8″ spade or Forstner bit (for connector recesses)
  • 1/4″ drill bit (for drainage holes)
  • Miter saw (for cutting balusters to length if needed)
  • Pencil or marker

Materials:

Step 1: Measure the Rail Opening

Measuring the railing opening between two deck posts

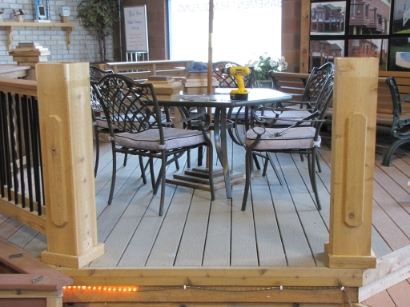
Measure the distance between posts where the railing will be installed. This is the opening that your top and bottom rail lumber will span. Write this measurement down — you’ll use it to calculate baluster quantity and spacing.

If you’re working with vinyl rail kits, the rail length is predetermined by the kit size. Measure to confirm, but the kit dimensions will guide your layout.

Step 2: Calculate Baluster Spacing

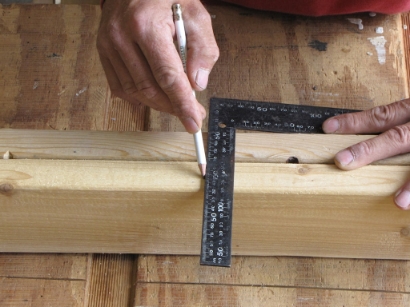
Marking baluster spacing on a 2x4 rail with a speed square and pencil

The IRC requires that the gap between balusters shall not allow passage of a 4-inch sphere. In practice, most builders space balusters between 3.5″ and 3.75″ apart (on-center spacing will be wider depending on baluster diameter).

Quick spacing formula:

  1. Subtract baluster width (3/4″ for standard aluminum) from 4″ max gap = 3.25″ clear space maximum
  2. Divide total rail opening by (baluster width + desired gap) to get the number of balusters
  3. Round up to the nearest whole number
  4. Recalculate the exact gap: (rail opening – (number of balusters × baluster width)) ÷ (number of balusters + 1)

For a more detailed breakdown with a ready-to-use reference table, see our baluster spacing calculator guide.

Step 3: Mark and Drill the Bottom Rail

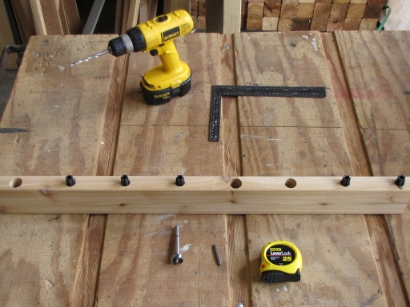
Bottom rail drilled with evenly spaced holes for baluster connectors

Lay out your bottom rail on a flat surface. Starting from one end, mark the center point for each baluster based on your calculated spacing. Use a speed square to transfer marks to the center of the rail.

At each mark, drill a 7/8″ hole approximately 1″ deep using a spade or Forstner bit. This creates the recess for the bottom baluster connector. Then drill through the remaining depth with a 1/4″ bit — this smaller hole provides drainage so water doesn’t pool in the connector pocket.

Pro tip: Drill all bottom rail holes before moving to the top rail. Clamp a depth stop on your 7/8″ bit to keep hole depth consistent across the entire run.

Step 4: Install Connectors

Baluster connectors installed in drilled bottom rail

Place a baluster connector into each hole on the bottom rail. The connector should sit flush with the rail surface. Repeat for the top rail.

Top rail holes also get the 7/8″ recess plus 1/4″ drainage hole. Some builders skip the drainage hole on top rails, but it’s good practice to include it — water finds its way into everything on a deck.

Step 5: Insert Balusters Into the Bottom Rail

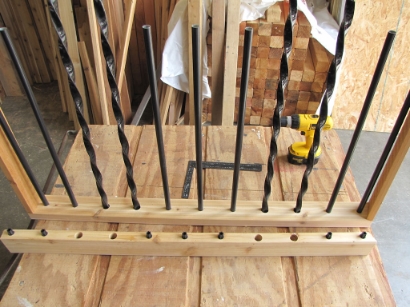
Aluminum balusters standing upright in bottom rail connectors

Insert each aluminum baluster into the bottom connector. Work from one end to the other, making sure each baluster seats fully into its connector. Once all balusters are standing in the bottom rail, you’re ready for the top rail.

Step 6: Attach the Top Rail

Top rail being lowered onto aluminum balusters to complete the railing assembly

Place connectors into the top rail holes, then lower the top rail onto the baluster tops. Press firmly to seat all connectors. It helps to have a second person hold one end while you align the other.

For stair sections: Use angled stair connectors instead of level connectors. These accommodate the 30-35 degree slope of stair railings. Standard level connectors will not work on stairs — the baluster will sit at the wrong angle.

Step 7: Secure the Assembly to Posts

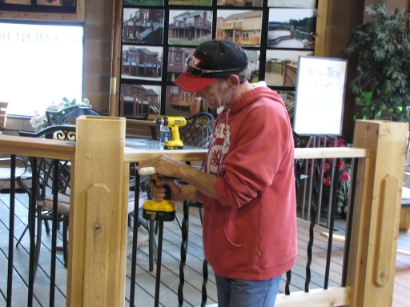
Deck builder securing railing assembly to post with a cordless drill
Attaching top rail to deck post from above

Once all balusters are seated in both top and bottom connectors, secure the rail assembly to your posts using your railing system’s mounting hardware. For wood-to-wood connections, railing brackets provide a solid, concealed attachment.

Check a few balusters with a 4″ sphere (a tennis ball works in a pinch) to verify code-compliant spacing. Inspect the full run for any connectors that aren’t fully seated and press them into place.

The Finished Result

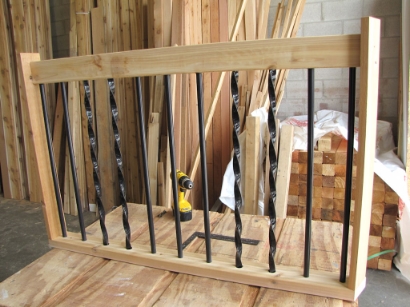
Completed deck railing section with aluminum balusters
Finished aluminum baluster stair railing on an outdoor deck

Common Installation Mistakes

  • Using the wrong connector type: Round connectors for round balusters, square for square. They are not interchangeable.
  • Forgetting stair connectors: Level connectors on stair sections look wrong and can fail inspection.
  • Inconsistent hole depth: Shallow holes leave connectors proud of the rail surface. Use a depth stop.
  • Not accounting for post width in spacing: The gap between the post face and the first baluster must also be under 4″.
  • Cutting balusters without deburring: If you cut aluminum balusters to custom length, deburr the cut end with a file so the connector seats properly.

Buying What You Need — No More, No Less

At The Deck Barn, we sell aluminum balusters and connectors by the piece. Order the exact quantity your project requires — no bundles, no minimums, no waste. With same-day shipping on orders placed before 3 PM ET, your materials arrive when you need them.

Shop Aluminum Balusters | Shop Connectors | Request a Quote

Posted on

Round vs Square Aluminum Balusters: How to Choose the Right Profile for Your Deck

Raised composite deck with black aluminum railing round balusters spiral staircase and copper post caps surrounded by flowers and greenery

Aluminum balusters come in two main profiles: round and square. Both meet code, both last, and both look sharp on a finished deck. But they aren’t interchangeable. The profile you choose affects the visual style of the railing, the connector hardware you need, and how the finished product reads from the street.

If you’re speccing aluminum balusters for your next build, here’s how to decide between round and square.

Visual Differences at a Glance

Round aluminum balusters have a 3/4″ diameter and create a traditional, softer look. They’re the most widely used profile in residential deck construction. The curved surface catches light evenly and produces subtle shadow lines that blend into most railing systems without drawing attention.

Square aluminum balusters have a 3/4″ face and create a more contemporary, architectural feel. The flat faces produce sharper shadow lines and a more defined grid pattern. They tend to stand out more visually, which can be a positive or a negative depending on the design intent.

As a general rule: round profiles recede, square profiles assert. Choose round when the railing should complement the view. Choose square when the railing is part of the design statement.

Connector Compatibility

This is where the practical difference matters most on the jobsite.

Round balusters use the standard 3/4″ round baluster connector — a simple friction-fit shoe that snaps over the baluster end and sits flush against the top and bottom rail. These are the most common and least expensive connectors, available starting at $0.28 per piece.

Square balusters require the Estate series square connector, which has a square opening to match the profile. These run about $0.35 per piece. You cannot mix round connectors with square balusters or vice versa — the fit won’t work.

For stair sections, both profiles have dedicated stair connectors that accommodate the rail angle (typically 30-35 degrees). Make sure you order the stair version separately — level connectors don’t adjust.

Which Profile Works With Which Deck Style?

Round balusters pair well with:

  • Vinyl railing systems (the most common combination)
  • Traditional wood rail caps
  • Composite decking with a classic aesthetic
  • Homes with existing round porch or stair balusters

Square balusters pair well with:

  • Aluminum rail systems
  • Modern or contemporary home designs
  • Horizontal deck board patterns
  • Commercial or mixed-use projects

When in doubt, look at the existing architectural lines on the home. Round softens, square sharpens. Match the baluster to the character of the house, not just the deck.

Installation Differences

Both profiles install the same way: drill holes in the top and bottom rail, insert the baluster, and secure with connectors. The tools and process are identical.

The one difference worth noting: square balusters can rotate in the hole if the fit is loose. Round balusters don’t have this issue because rotation doesn’t change their orientation. If you’re using square balusters, make sure connector fit is snug and the baluster is aligned before the railing is fully secured.

For a complete walkthrough, see our aluminum baluster installation guide.

Pricing Comparison

At The Deck Barn, both profiles are competitively priced and sold by the piece:

Profile Starting Price Colors Available Custom Lengths
3/4″ Round $1.43/piece 5 (Black, Bronze, White, Clay, Green) 8″ to 95″
3/4″ Square $2.80/piece 2 (Matte Black, Bronze) Standard lengths

Round balusters offer more color options and custom length flexibility. Square balusters cost more per piece but may be the right call for projects where the modern look justifies the premium.

The Bottom Line

For most residential deck jobs, round aluminum balusters are the default for a reason: lower cost, more color options, universal compatibility, and a look that works on almost any home. Square aluminum balusters earn their place on contemporary builds where the architectural lines call for something sharper.

Both profiles deliver the same durability, weather resistance, and low maintenance that make aluminum the preferred choice for professional deck builders.

Shop Aluminum Balusters | Request a Contractor Quote

Posted on

The Complete Guide to Aluminum Deck Balusters: Materials, Colors, Codes, and Buying Tips

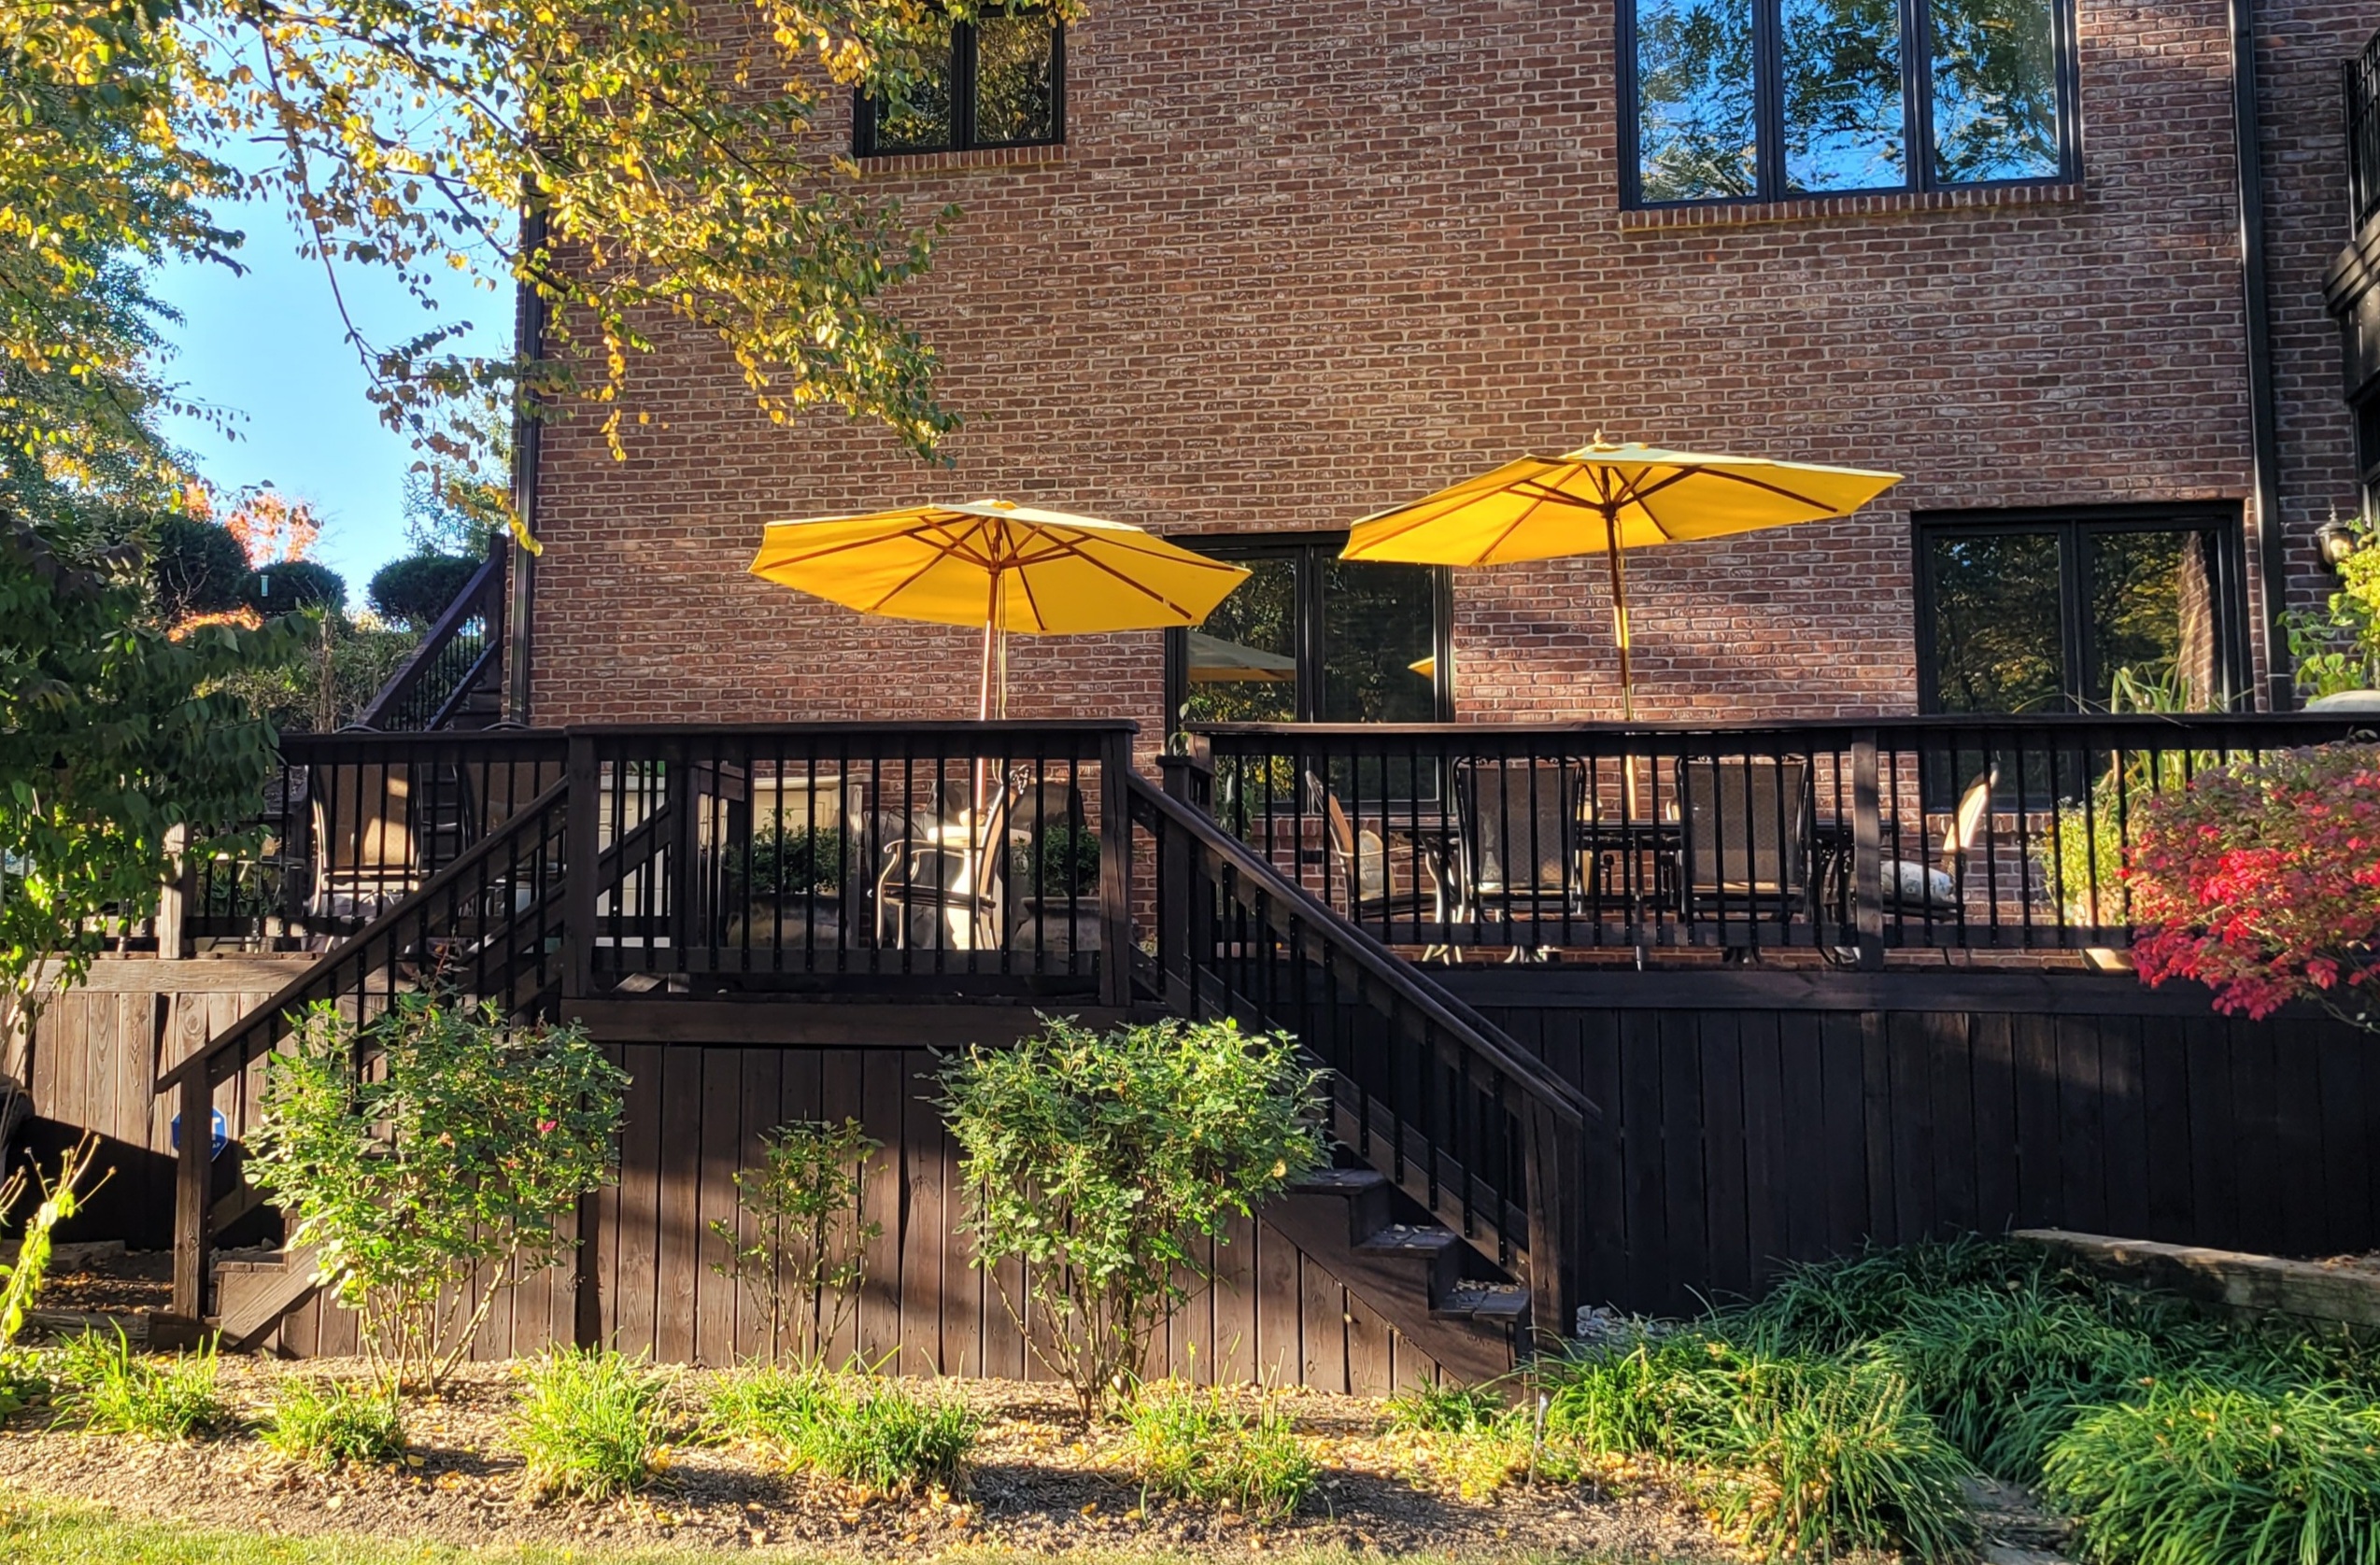
Large raised deck with black aluminum railing, stairs, and yellow patio umbrellas at brick home

If you’ve built more than a handful of decks, you already know that balusters make or break the finished look of a railing — and they account for a significant chunk of your material time on site. Aluminum balusters have steadily replaced wood as the default choice among professional deck builders, and for good reason. They don’t rot, they don’t need staining, they install faster, and they pass code inspection without surprises.

This guide covers everything a pro needs to know about aluminum deck balusters: how they’re made, what profiles and colors are available, how they meet residential building codes, which connectors to use, and what they actually cost compared to wood and composite alternatives. Whether you’ve been specifying aluminum for years or you’re considering the switch, this is the reference you can come back to.

How Aluminum Balusters Are Made

Aluminum deck balusters are manufactured through an extrusion process. A heated aluminum billet — typically 6063-T6 alloy, the same grade used in architectural and structural applications — is forced through a steel die under high pressure. The die determines the cross-sectional shape of the baluster: round, square, flat bar, or decorative. The extruded aluminum emerges in long lengths, then gets cut to size.

After extrusion, balusters go through a powder coating process. The aluminum is first pre-treated to remove oils and contaminants, then a dry powder is applied using an electrostatic charge that bonds it to the metal surface. The coated balusters are then cured in an oven at roughly 400°F, which melts and fuses the powder into a hard, uniform finish. The result is a coating that resists chipping, fading, scratching, and corrosion far better than liquid paint.

At Dextrusions — the in-house brand we manufacture at The Deck Barn — our balusters are made from 6063-T6 aircraft-grade aluminum and carry a 20-year powder coat finish warranty. Because we extrude and coat in-house, we control quality from raw billet to boxed product.

Aluminum Baluster Profiles

The profile you choose affects the look of the finished railing, the type of connectors you’ll need, and how the baluster mounts to the rail. Here’s what’s available.

Round Balusters

The most popular profile in the industry. A standard 3/4″ diameter round baluster works with nearly every wood and vinyl railing system on the market. Round balusters have a clean, traditional look that complements both colonial and contemporary deck designs. They’re the default spec for most residential deck jobs. For a deeper comparison with other profiles, see our post on round vs. square aluminum balusters.

Square Balusters

Square balusters — typically 3/4″ x 3/4″ — offer a more modern, angular look. They’re popular on decks paired with composite or PVC railing systems where the homeowner wants clean lines. Square profiles use a different connector (a square shoe rather than a round grommet), so make sure your hardware matches.

Flat Bar Balusters

Flat bar balusters are solid aluminum — commonly 3/16″ x 1″ — and face-mount directly to the rail with screws through pre-drilled holes. They create a distinctive, contemporary look that stands out from the standard round or square options. Flat bar is heavier per piece than hollow profiles, and installation is slightly different since you’re face-mounting rather than inserting into connectors.

Decorative Balusters

For homeowners who want something beyond a straight vertical line, decorative aluminum balusters are available in several styles: baroque (an S-curve or scrollwork shape), pot belly (a bulge in the center of the baluster), and basket twist (a woven or twisted center section). These are face-mount balusters, and they work well as accent pieces — many builders mix a decorative baluster every third or fourth position with standard round or square balusters between them. Check out our full breakdown of decorative aluminum baluster styles for design ideas and installation notes.

Color Options and How to Match Them

Aluminum balusters are available in a range of powder-coated colors. The most common options you’ll encounter are:

  • Black — The most popular color by a wide margin. Black balusters virtually disappear against any backdrop, making the view through the railing the focal point rather than the railing itself.
  • Matte Black — A softer, non-reflective finish that’s gaining popularity. It reads as slightly warmer than gloss black, especially in direct sunlight.
  • Bronze — A strong match for brown-toned composite decking and darker wood stains. Bronze balusters pair well with earth-toned color schemes.
  • White — The standard choice for vinyl railing systems. White balusters with white vinyl top and bottom rails create a clean, uniform look that’s common on porches and traditional-style homes.
  • Wicker — A tan or khaki tone that works with lighter wood stains, cedar, and some composite colors. It’s a niche choice, but when it fits the palette, nothing else looks right.

Matching tip: The safest approach is to contrast the baluster color against the rail color rather than trying to match exactly. Black balusters with a white vinyl rail is the most classic combination. Bronze balusters with a dark composite rail blend for a monochromatic look. When in doubt, black works with everything — it’s the “goes with anything” option in deck railing.

IRC Code Requirements for Deck Balusters

Building code compliance isn’t optional, and aluminum balusters need to meet the same requirements as any other baluster material. The International Residential Code (IRC) Section R312 governs guard requirements for residential decks. Here’s what you need to know.

The 4-Inch Sphere Rule

Guards shall not have openings that allow passage of a 4-inch (102 mm) sphere between the walking surface and the required guard height. This applies to the gap between balusters, between a baluster and a post, and between the bottom rail and the deck surface. In practice, this means your on-center baluster spacing needs to result in a clear gap under 4 inches — which is why most builders space balusters at roughly 3.5″ to 3.75″ apart to allow for slight variations.

For help calculating exactly how many balusters a section requires, see our baluster spacing calculator guide.

Guard Height Requirements

The IRC requires guards on any portion of a deck that is more than 30 inches above grade. The minimum guard height for most residential applications is 36 inches, measured from the deck surface to the top of the rail. However, some jurisdictions — notably California — require 42 inches for residential, and most commercial or multi-family applications also require 42 inches under the IBC (International Building Code).

Always confirm the height requirement with your local building department before ordering materials. The difference between a 36″ and 42″ rail section changes your baluster length, and ordering the wrong height means a return or a recut.

Stair-Specific Requirements

Guards on open sides of stairs must be at least 34 inches high, measured vertically from a line connecting the stair nosings. The baluster spacing rule changes slightly on stairs: the triangular opening formed by the tread, riser, and bottom rail must not allow passage of a 6-inch sphere, and openings between balusters on stairs cannot exceed 4-3/8 inches. These tolerances are slightly more forgiving than level sections, but you still need to plan your layout carefully — especially on steeper stair pitches.

Vinyl Railing vs. Wood Railing Compatibility

One of the practical advantages of aluminum balusters is that they work with both major railing system types.

Vinyl Railing Systems

Vinyl (PVC) railing systems are designed with aluminum balusters in mind. The top and bottom rails come pre-routed or use snap-in connectors that accept standard 3/4″ round or square balusters. Vinyl rail kits from most manufacturers — including the kits we sell at The Deck Barn — ship with the connectors already integrated. You cut the balusters to length, insert them into the connectors, and assemble the section. It’s a fast, clean installation with no drilling required.

Wood Railing Systems

For wood top and bottom rails (whether pressure-treated, cedar, or composite), you’ll need separate baluster connectors to mount the aluminum balusters. Round balusters use round connectors (rubber grommets or snap-in fittings) that insert into drilled holes in the rail. Square balusters use square shoes that screw to the surface of the rail. This adds a step to the installation compared to vinyl kits, but the result is a more custom look — and you have full control over rail profile, wood species, and stain color.

For a complete walkthrough of installation methods for both railing types, read our aluminum baluster installation guide.

Connectors and Hardware

The connector is what attaches the baluster to the rail, and using the wrong one is a common mistake — especially for builders new to aluminum. Here’s a quick reference by profile type.

Round Baluster Connectors

Round balusters typically use a snap-in connector or rubber grommet that fits into a 7/8″ hole drilled in the top and bottom rail. The baluster slides into the connector for a snug, rattle-free fit. Some connectors include a built-in angle adapter for stair sections.

Square Baluster Shoes

Square shoes (also called base shoes or foot blocks) are surface-mounted brackets that the square baluster drops into. They screw directly to the rail surface. Square shoes are available with flat bases for level sections and angled bases for stairs.

Flat Bar Connectors

Flat bar balusters are typically face-mounted using screws through the pre-drilled holes at each end of the baluster. No separate connector is needed — the baluster attaches directly to the face of the top and bottom rail.

Stair Adapters

Stair sections require angled connections since the balusters remain plumb (vertical) while the rails follow the stair pitch. Most connector systems offer stair adapter versions with angled seats that accommodate common stair pitches (typically 32° to 38°). If your pitch falls outside that range, you may need to notch the rail or use an adjustable connector.

We’ve written a detailed guide on aluminum baluster connectors that covers every connector type, when to use each one, and common mistakes to avoid.

Buying by the Piece vs. by the Box

This is where the purchasing experience matters — and where most suppliers make life harder than it needs to be.

The majority of big-box stores and online retailers sell aluminum balusters in pre-packed quantities: boxes of 10, 20, or 100. That sounds convenient until you calculate your actual need and end up five balusters short of a full box, which means you’re either buying a whole extra box or shorting a section and hoping the inspector doesn’t notice (don’t do that).

At The Deck Barn, we sell balusters by the piece. Need 87 round black balusters at 32-1/4″? Order 87. No overbuying, no wasted material, no leftover inventory sitting in your trailer. For builders running multiple jobs with different specs, this flexibility matters. You order exactly what you need for each job and keep your material costs tight.

We also offer custom lengths. Our standard catalog covers lengths from 8″ to 95″, but if your railing height or stair pitch calls for a non-standard cut, we can accommodate that. This is a significant advantage over retail channels where you’re limited to the three or four lengths on the shelf.

Factory Direct: What It Actually Means

The term “factory direct” gets thrown around loosely in the building products industry, so here’s what it means when we say it: Dextrusions balusters are manufactured at our facility in Wayne, Michigan. We extrude the aluminum, powder coat it in-house, cut to length, and ship from the same building. There’s no distributor, no wholesaler, and no middleman adding markup between our production line and your job site.

The Deck Barn has been in business since 1984, and we started manufacturing the Dextrusions brand in 2009. Our tagline — “By Deck Builders, For Deck Builders” — isn’t a marketing line. The company was built by people who’ve stood on scaffolding and run rail sections, and that shows in how the products are designed and how the business operates. We ship same-day on most orders, we answer the phone when you call, and we don’t require minimum order quantities.

For pro builders, factory direct pricing means better margins on every deck job. When you eliminate the supply chain markup, the per-baluster cost drops — and that difference adds up fast across a full season of builds. See our full rundown on why pros choose aluminum balusters for more on the business case.

Cost Comparison: Aluminum vs. Wood vs. Composite Balusters

Material cost is always part of the conversation, so let’s put real numbers on the table. The comparison below reflects typical 2025–2026 pricing for balusters only (not full railing systems) at standard 36″ rail height.

Material Cost Per Baluster Est. Cost Per Linear Foot of Railing* Maintenance Lifespan
Aluminum (standard round) $1.50 – $3.00 $4.50 – $9.00 None 25+ years
Pressure-treated wood $1.00 – $2.50 $3.00 – $7.50 Stain/seal every 2–3 years 10–15 years
Composite $3.00 – $7.00 $9.00 – $21.00 Minimal 20+ years
Decorative aluminum $5.00 – $12.50 $15.00 – $37.50 None 25+ years

*Estimated at ~3 balusters per linear foot based on standard 3.5″ spacing. Actual count depends on post spacing and layout.

Wood looks cheaper on paper until you factor in the labor and materials for ongoing maintenance. A single round of staining and sealing on a typical deck railing can cost a homeowner $200–$500, and it needs to happen every two to three years. The total cost of ownership for wood railing often exceeds aluminum within five to seven years when maintenance is included.

For builders, the real savings with aluminum are in labor time. Aluminum balusters install faster than wood — no sanding, no pre-drilling for each one, no cutting with a miter saw — and they arrive ready to install with a factory finish. On a typical 40-linear-foot deck railing, the labor difference can be an hour or more. Multiply that across a season of jobs and the efficiency gain is substantial.

For a head-to-head breakdown, see our detailed aluminum vs. wood baluster comparison.

Choosing the Right Aluminum Baluster for the Job

If you’re specifying aluminum balusters for a project, here’s a quick decision framework:

  1. Determine your railing type. Vinyl rail kits include connectors; wood or composite rails require separate hardware.
  2. Choose your profile. Round is the safe default. Square for modern builds. Decorative for accent or upscale projects.
  3. Confirm the height requirement. 36″ or 42″? Check your local code before ordering.
  4. Calculate your count. Measure each section, account for post spacing, and use the 4-inch sphere rule to determine spacing. Our baluster calculator can help.
  5. Pick your color. Black is the universal choice. Match or contrast with the rail color depending on the design intent.
  6. Order exact quantities. No reason to overbuy when you can order by the piece.

Wrapping Up

Aluminum balusters have earned their place as the standard for professional deck construction. They’re durable, code-compliant, low-maintenance, and faster to install than the alternatives. The range of profiles, colors, and connector options means they fit virtually any railing system and design style.

At The Deck Barn, we manufacture Dextrusions aluminum balusters in Wayne, Michigan and sell them factory direct — by the piece, in any length, with same-day shipping on most orders. If you’re pricing out a job or switching from wood to aluminum, give us a call or browse our full aluminum baluster catalog. We’ll help you get exactly what you need — nothing more, nothing less.