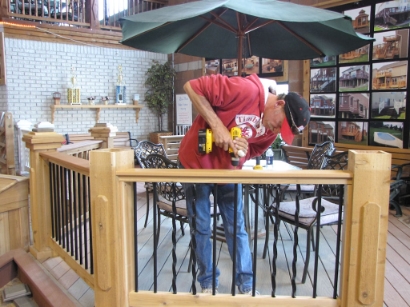
How to Install Aluminum Balusters: Spacing, Connectors, and Tools
Installing aluminum balusters is one of the fastest railing tasks on a deck build — if you’ve got the right connectors and your spacing dialed in. This guide covers the full process from measuring your opening to setting the last baluster, with the tools, math, and code requirements you need to get it right the first time.
Tools and Materials
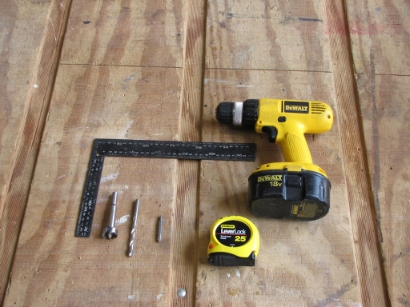
Tools:
- Tape measure
- Speed square
- Cordless drill
- 7/8″ spade or Forstner bit (for connector recesses)
- 1/4″ drill bit (for drainage holes)
- Miter saw (for cutting balusters to length if needed)
- Pencil or marker
Materials:
- Aluminum balusters (round or square — see our comparison)
- Baluster connectors (2 per baluster — top and bottom)
- 2×4 or 2×6 lumber for top and bottom rails (if not using a vinyl or composite rail kit)
Step 1: Measure the Rail Opening
Measure the distance between posts where the railing will be installed. This is the opening that your top and bottom rail lumber will span. Write this measurement down — you’ll use it to calculate baluster quantity and spacing.
If you’re working with vinyl rail kits, the rail length is predetermined by the kit size. Measure to confirm, but the kit dimensions will guide your layout.
Step 2: Calculate Baluster Spacing
The IRC requires that the gap between balusters shall not allow passage of a 4-inch sphere. In practice, most builders space balusters between 3.5″ and 3.75″ apart (on-center spacing will be wider depending on baluster diameter).
Quick spacing formula:
- Subtract baluster width (3/4″ for standard aluminum) from 4″ max gap = 3.25″ clear space maximum
- Divide total rail opening by (baluster width + desired gap) to get the number of balusters
- Round up to the nearest whole number
- Recalculate the exact gap: (rail opening – (number of balusters × baluster width)) ÷ (number of balusters + 1)
For a more detailed breakdown with a ready-to-use reference table, see our baluster spacing calculator guide.
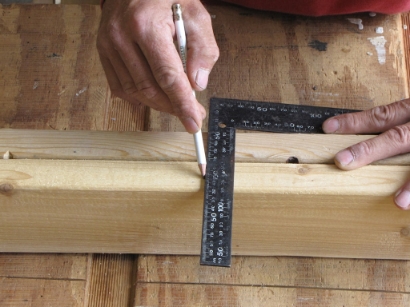
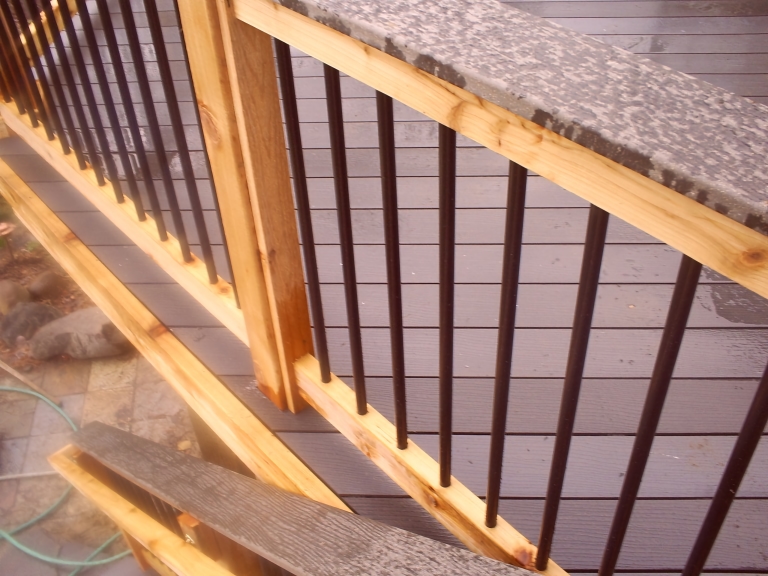
Step 3: Mark and Drill the Bottom Rail
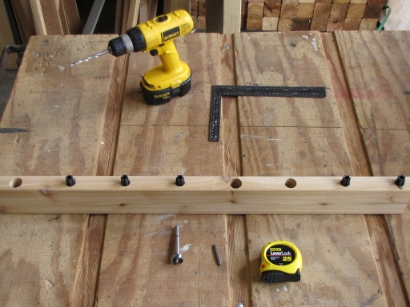
Lay out your bottom rail on a flat surface. Starting from one end, mark the center point for each baluster based on your calculated spacing. Use a speed square to transfer marks to the center of the rail.
At each mark, drill a 7/8″ hole approximately 1″ deep using a spade or Forstner bit. This creates the recess for the bottom baluster connector. Then drill through the remaining depth with a 1/4″ bit — this smaller hole provides drainage so water doesn’t pool in the connector pocket.
Pro tip: Drill all bottom rail holes before moving to the top rail. Clamp a depth stop on your 7/8″ bit to keep hole depth consistent across the entire run.
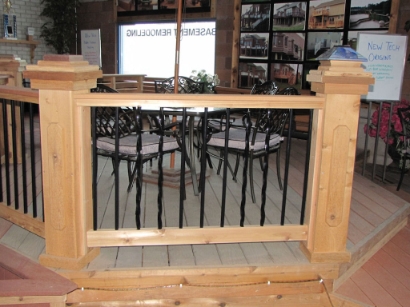
Step 4: Install Connectors
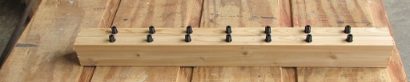
Place a baluster connector into each hole on the bottom rail. The connector should sit flush with the rail surface. Repeat for the top rail.
Top rail holes also get the 7/8″ recess plus 1/4″ drainage hole. Some builders skip the drainage hole on top rails, but it’s good practice to include it — water finds its way into everything on a deck.
Step 5: Insert Balusters Into the Bottom Rail
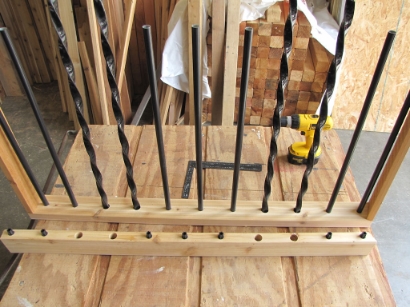
Insert each aluminum baluster into the bottom connector. Work from one end to the other, making sure each baluster seats fully into its connector. Once all balusters are standing in the bottom rail, you’re ready for the top rail.
Step 6: Attach the Top Rail

Place connectors into the top rail holes, then lower the top rail onto the baluster tops. Press firmly to seat all connectors. It helps to have a second person hold one end while you align the other.
For stair sections: Use angled stair connectors instead of level connectors. These accommodate the 30-35 degree slope of stair railings. Standard level connectors will not work on stairs — the baluster will sit at the wrong angle.
Step 7: Secure the Assembly to Posts
Once all balusters are seated in both top and bottom connectors, secure the rail assembly to your posts using your railing system’s mounting hardware. For wood-to-wood connections, railing brackets provide a solid, concealed attachment.
Check a few balusters with a 4″ sphere (a tennis ball works in a pinch) to verify code-compliant spacing. Inspect the full run for any connectors that aren’t fully seated and press them into place.
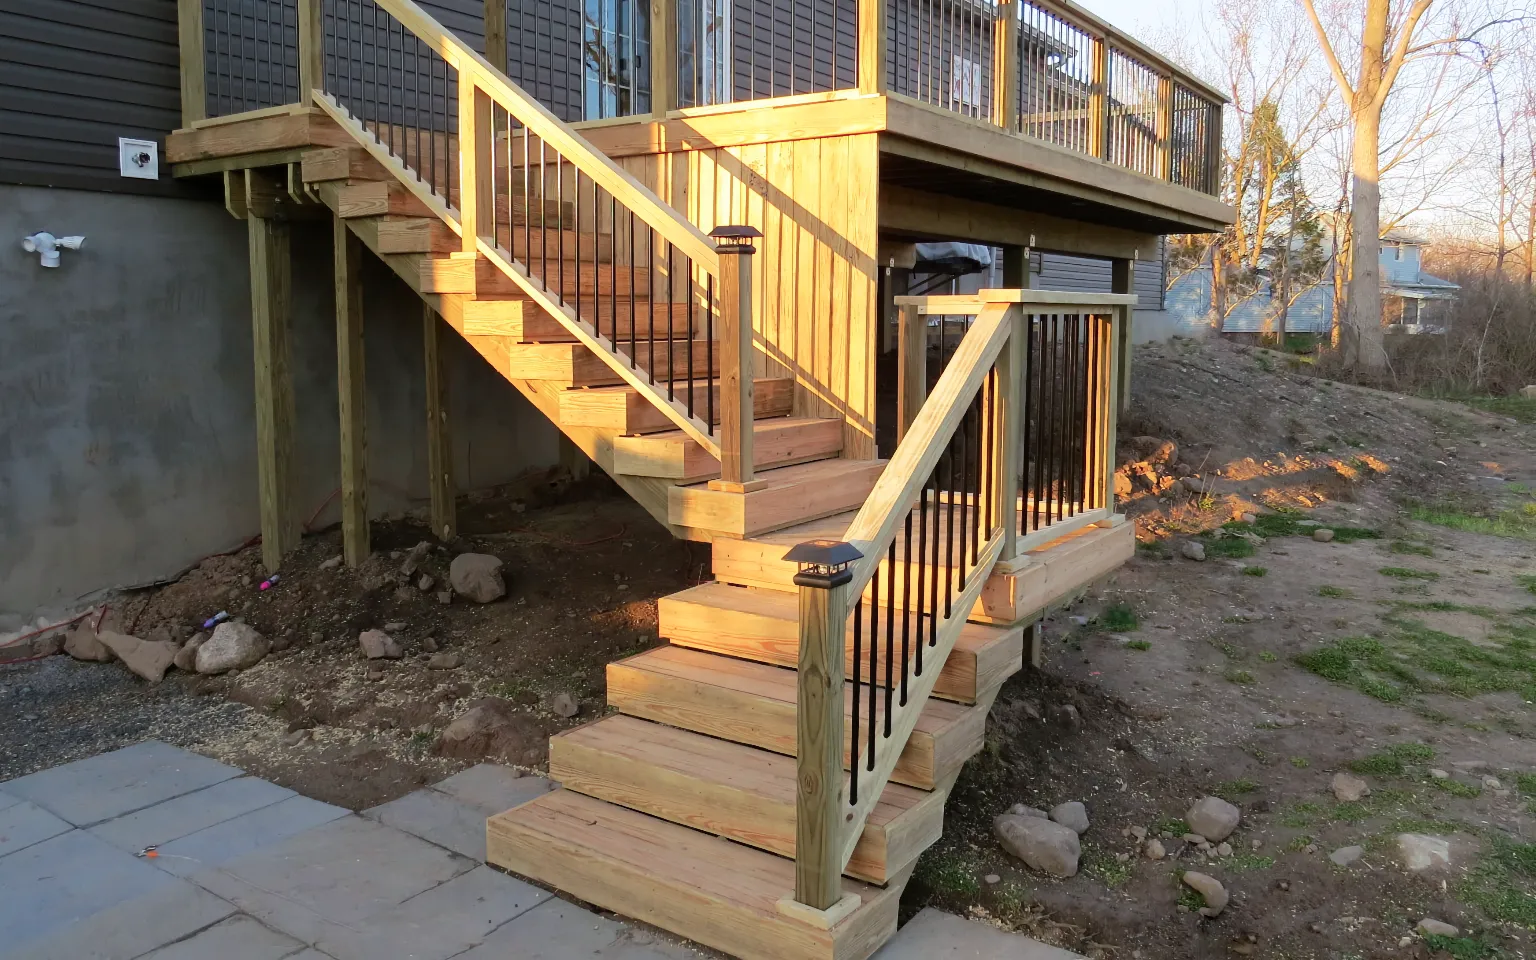
The Finished Result
Common Installation Mistakes
- Using the wrong connector type: Round connectors for round balusters, square for square. They are not interchangeable.
- Forgetting stair connectors: Level connectors on stair sections look wrong and can fail inspection.
- Inconsistent hole depth: Shallow holes leave connectors proud of the rail surface. Use a depth stop.
- Not accounting for post width in spacing: The gap between the post face and the first baluster must also be under 4″.
- Cutting balusters without deburring: If you cut aluminum balusters to custom length, deburr the cut end with a file so the connector seats properly.
Buying What You Need — No More, No Less
At The Deck Barn, we sell aluminum balusters and connectors by the piece. Order the exact quantity your project requires — no bundles, no minimums, no waste. With same-day shipping on orders placed before 3 PM ET, your materials arrive when you need them.